Dont Forget To – LIKE | SUBSCRIBE | SHARE
CHECK DESCRIPTION FOR DETAILS
00:00 Scrap metal sheet. You can get a similar sheet from tin can bottoms
00:11 I use a pin to make a starter hole
00:33 Drill bit diameter is 1.5mm if you are going use a 1.5mm for your final assembly (not shown in video). I usually use 2mm drill bit because it’s easier to find 2mm shaft to mount the turbine for the final assembly of your project
00:40 It’s not necesary to make the hole all the way down, but make sure there is a hole
in the wood, we will need it later for the center of the disc
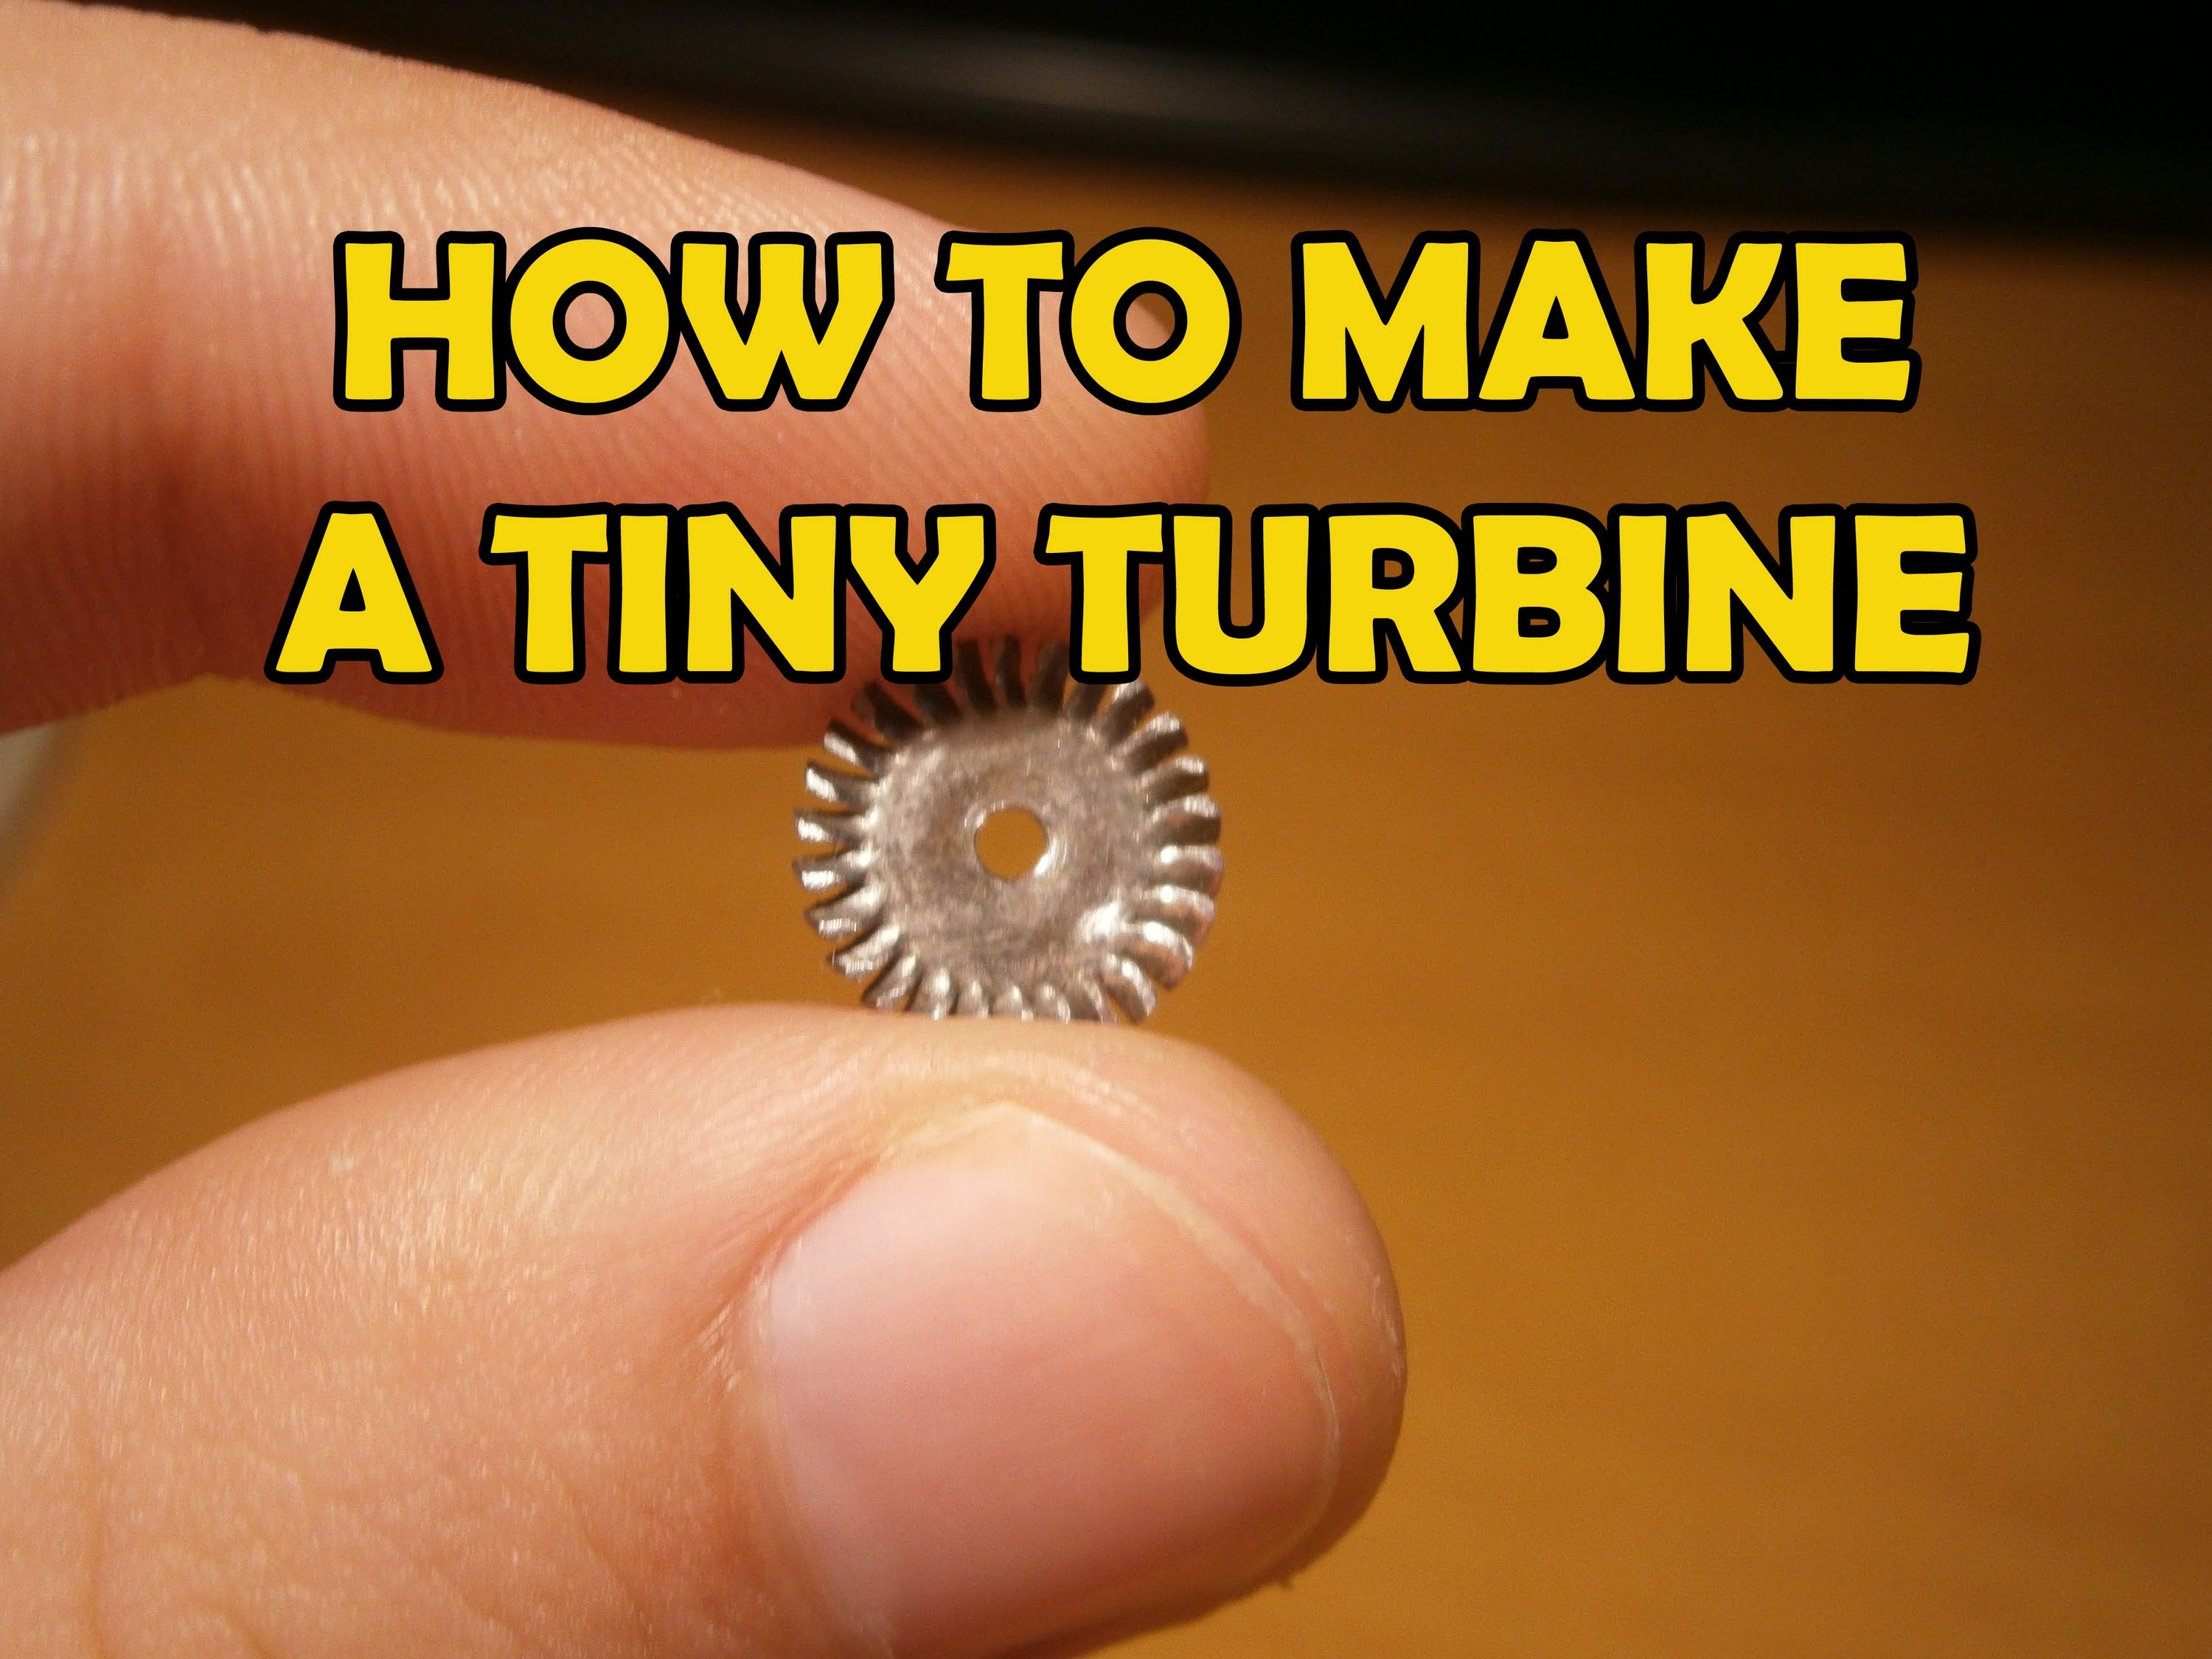
00:52 Modified pair of compasses. One end has a 2mm (2.17mm) dia pin (which is going to be the center of the disc), the other pin has a very pointy edge which can be found compasses and it will be used to cut the disc. With this configuration the total diameter of the disc of this tutorial is going to be 10.64mm (5.32 x 2 obviously)
01:34 The center pin goes a little deeper in the wood (it’s approx. 1.5 longer than the cutting pin for more stability) as i mentioned earlier (0:40). Revolve the compass slowly and make sure you don’t stray from the circle
TIP: Repeat this process on both sides of the sheet equal times. For example, for every 10 revolutions of the compass change side on the sheet. This will make the disc run absolutely true.
02:22 For the template just google “Free online polar gragh paper” and click on the first site. For the template on the tutorial i used the following parameters: PDF Document size A4, Minimum Border 10, choose cm not inches, Concentric Circles 27, Both primary and secondary spokes must be the same, choose 27 (actually this is the number of the blades), line color black. Download it and print it
02:33 Paper glue (it’s easier to remove on the next steps)
02:52 Put the disc EXACTLY in the center, and use a bright lamp to locate the center of the template and the center of the disc. If the two centers don’t meet, make adjustments. Leave the glue to cure for about 2 hours
03:20 Sellotape to secure it a little more
03:40 Make a rough cut
04:10 Rough cut
04:33 This is a wire cutter (facom 405.10) which is a very sharp and accurate cutter. I suggest you if you don’t have one of these, use your best one because if the cuts are not deep enough, the disc later on will be useless. Take your time and cut with patience all the blades
05:34 Remove the template and the sellotape
06:42 I use a screw which has the exact same diameter as the hole in the turbine disc. First, i bolt a nut then i put an old bearing (2X5X2.5mm) that can’t be used anymore then the turbine, another bearing, another nut and then i bolt it to compress the center of the turbine. THIS SCREW AND THE WHOLE ASSEBLY IS NOT MEANT TO BE THE SHAFT OF THE TURBINE, IT’S JUST A TOOL TO HELP YOU FORM THE BLADES
07:34 Start forming the blades. I use twizzers with straight edges. The result won’t be the best because it’s still on an early stage
08:14 Remove the nut and the bearing
08:42 I use some spare discs that i made using the same method for other projects to compress all the blades simultaneously. This process must be repeated several times to put the blades on the same level
09:25 Blade correction
10:54 Repeat the process as many times needed before moving on to the last step
12:00 Put it in the chuck of a drill (AGAIN, THIS SCREW IS NOT MEANT TO BE THE SHAFT OF THE TURBINE) and with a rotary tool like a Dremel take off the excess material. Steady hands here!!! If you don’t have a rotary tool you can use 400 or 600 grit
13:00 If you can still see some imperfections, you can always go back and compress it with the screw and nut method
Donate!:
Subscribe to my channel!
me on !
me on Google+
