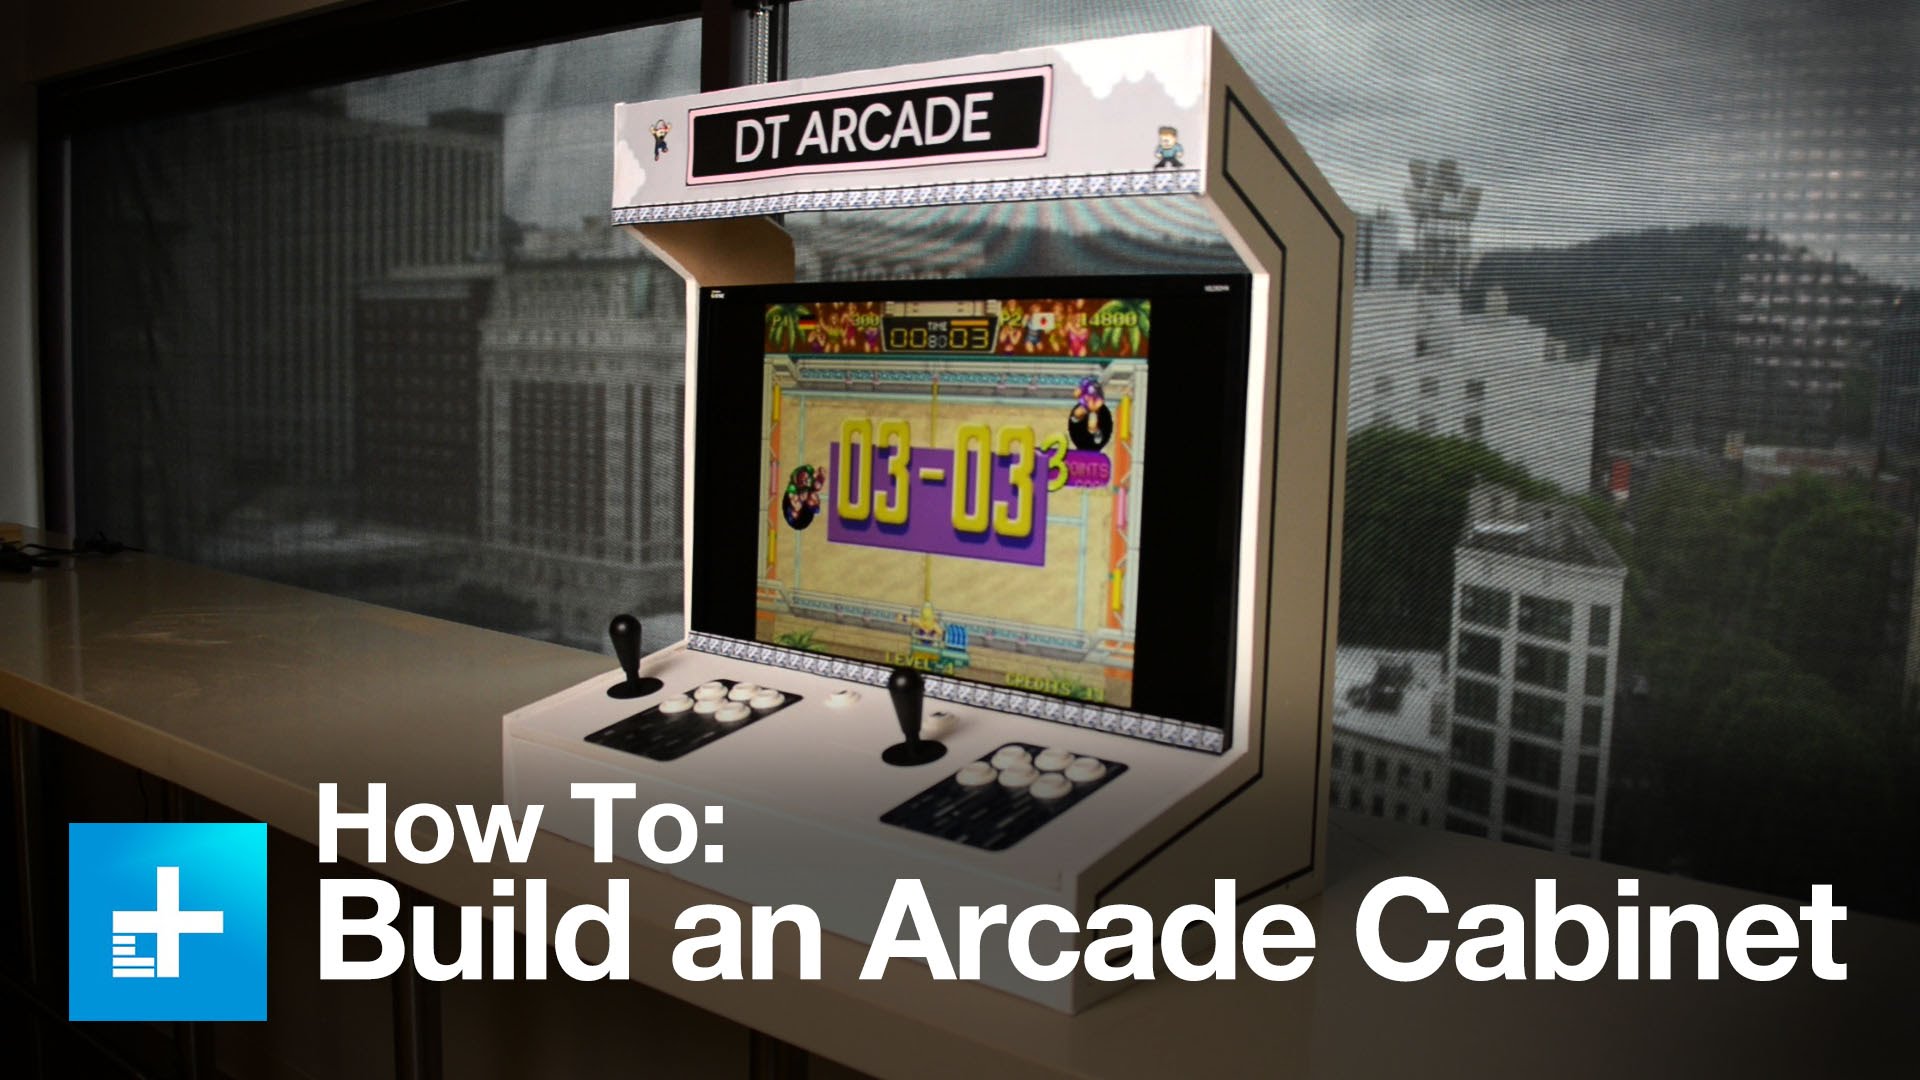
Arcade gaming complete with buttons and joysticks can be a do it yourself project. This is how we took an Intel NUC and made it the heart of a table-top arcade cabinet.
The main goal of our project was to play a handful of our favorite indie games from Steam, so we knew that we would need a little more kick than a Raspberry Pi could provide, as well as a full version of Windows if we wanted complete compatibility.
Our second goal was to make sure the whole system could be booted up by anyone who wanted to play without a lot of time or effort, which requires more than tweaking a few settings in Windows.
Finally, we wanted a system that could be self-contained, but that could also hook up to a spare projector or TV if desired.
Since the games we wanted to play were the highest barrier of entry, we started there. The games we had in mind were titles like Nidhogg, TowerFall Ascension, Samurai Gunn, Divekick, and OlliOlli. They’re all great indie games that are easy to pick up, with only a few buttons each, and high replay value.
The retro aesthetic has been popular lately, so these games have relatively low system requirements. We evaluated the highest requirements for each game, and discovered we needed at least two gigabytes of RAM, a processor clocked at 1.4GHz or higher, and integrated graphics supporting DirectX 9.
SUBSCRIBE FOR THE LATEST VIDEOS
VISIT DIGITAL TRENDS
CHECK OUT OUR LATEST PODCAST

